Advanced Rendering Techniques
 3D modeling is more than being able to construct shapes and build volumes of polygons; its about communicating an emotion. Through this art form, we can communicate a dimensional world that, seemingly, is familiar to our own. Our audiences are reminded about some of the common visual elements that we see every day, like the role of color, value and size. On one hand, we are tasked with creating a complex cage of polygons that accurately illustrate the size, scale and proportions of the model, but in the end, the render is what people will react too. The render, or final image, is what people will respond too. We need to start thinking like digital photographers in addition to thinking like design engineers. We need to start looking at our models through the lens of what people are going to think about when they see our image.
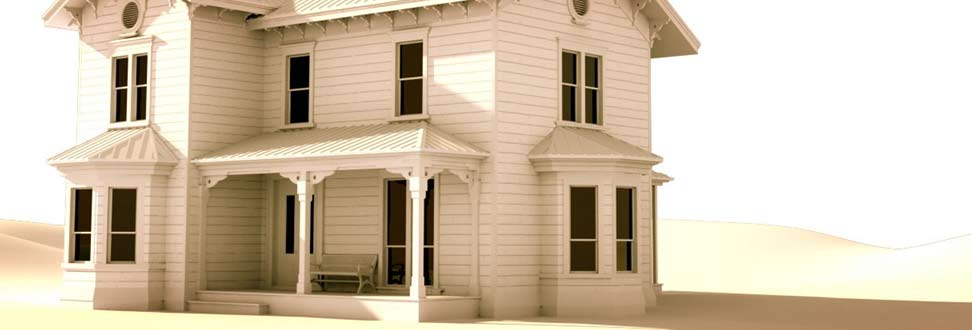
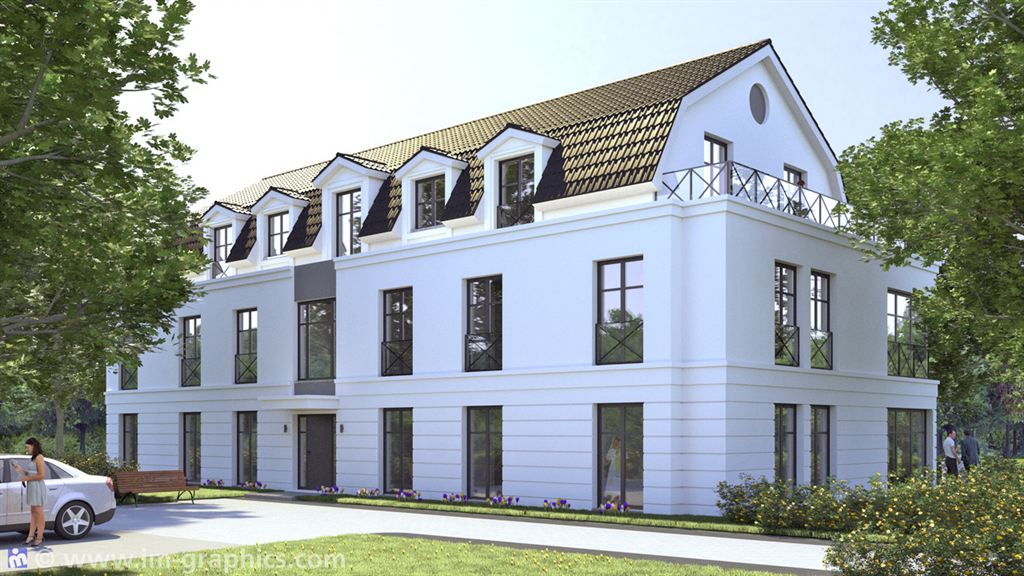 In addition to exploring the art of our render, we are also going to take an in-depth examination of the tiling texture system in Modo. Up until now, our weekly class projects have been relatively small in scale. The Coffee Cup, for example, is a fairly small object; as is the Stoplight or Cocktail Glass. Smaller models allow us to focus on the basic construction principles, but larger projects, like our house, force us to examine the process of applying textures. Large models, like our house, don't need to include a tremendous amount of detail. From a distance, you're never going to be able to see the small, fine bevels around the window frame, or profile of the door knob. The textures are going to provide us with the surface information we are looking to achieve.
Studying composition, color theory and spatial relationships will help us create better looking images that help communicate the message of the image. Today, we will look as some traditional art principles and begin to apply them to our 3D scenes and final renders. Incorporating these ideas into our work will strengthen the emotional response from our audience. How we create our scene will influence what the viewer will see and feel. Lets take a look!
Residential House - Texture (50pts)

Project Due: Week 11
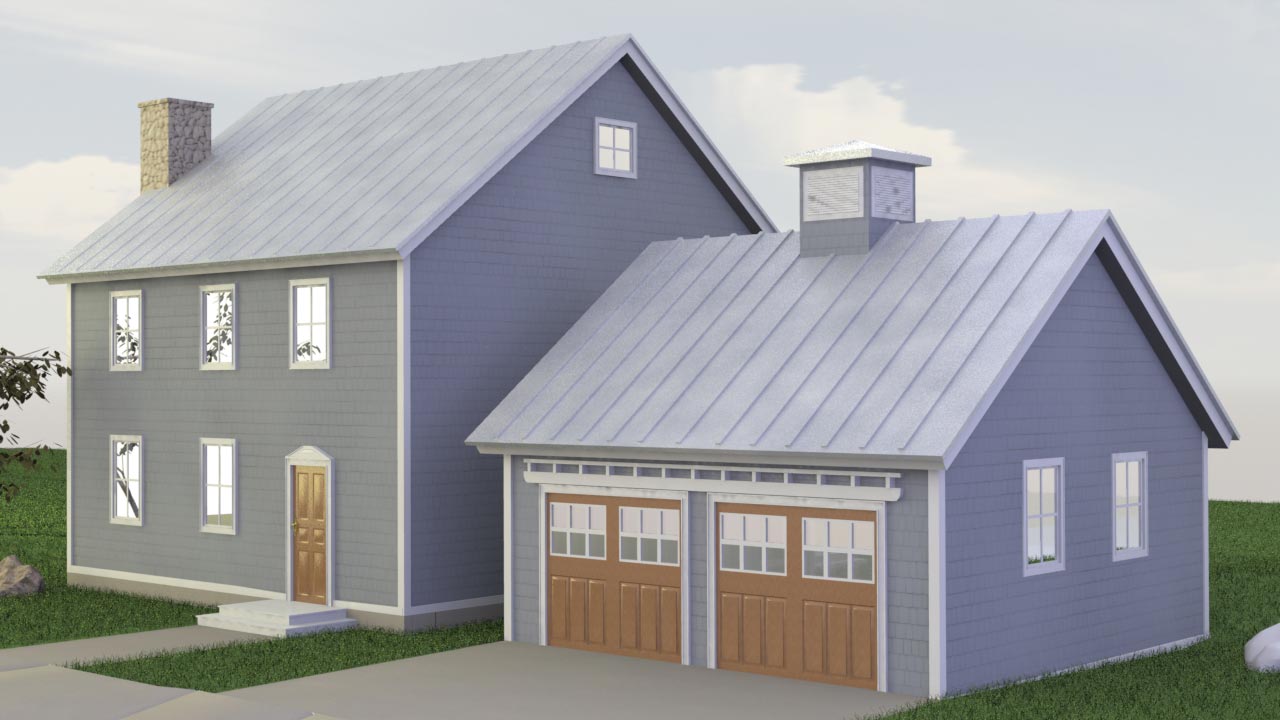
In part 2 of the residential house project, you will design and apply materials and textures to all of the models in your scene. Once you have created the 3D model, focus your attention on generating accurate materials and textures for your house. The textures will help you achieve the sense of realism we are striving for in this project. Also, make sure you spend some time designing the landscape of your house. Pay close attention to the color and position of your lights. Use reference photographs to help establish the correct lighting set-up to establish a season of the year. Please ensure your project includes the following required elements before you complete this assignment:
- Geometry for House
- Geometry for Landscape
- Geometry for Trees/bushes
- Textures and Materials for all items
- Lighting Set-up that establishes a season
- HDR Reflection Map (exterior)
- Global Illumination = ON
- Final Render Frame Size = 1280 x 720
- Final Render File Type = JPEG
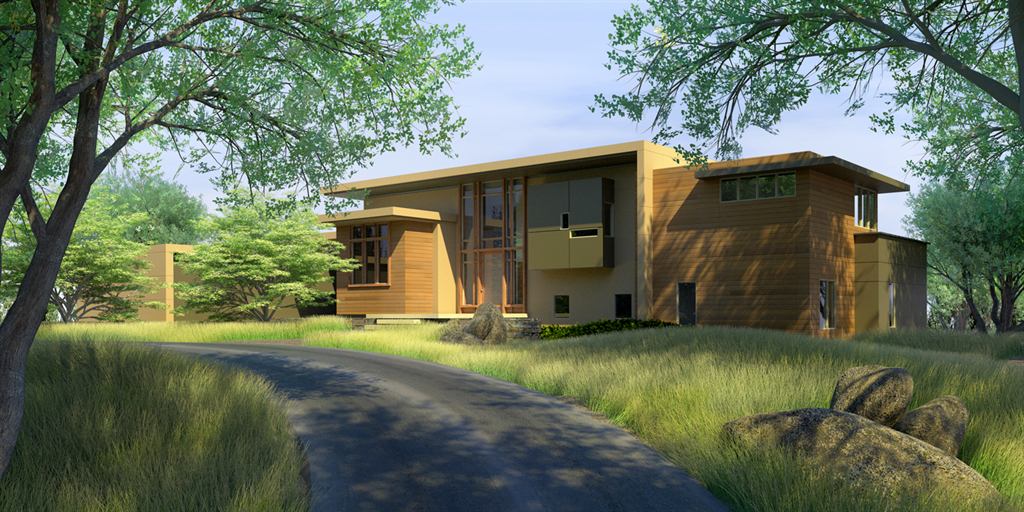
Examples of Successful Projects

Check out these awesome projects! The images below are examples of successful student projects. Use the following images to help guide you to your end results. If you look closely, the shape of the bottle matches the reference image perfectly! The textures, materials and lighting on all of these projects really make these images shine!


All Finished with your Homework?

After you have saved the project file on your personal external storage device (like a thumb drive), please upload your Luxology Scene File (.lxo) and your rendered image (.JPEG) to the Residential House Tex dropbox on D2L.
Before you upload your files to D2L, please ensure your files meet the following naming conventions:
Submit Your Assignment- lastname_gcom_402_res_house_tex.lxo
- lastname_gcom_402_res_house_tex.jpeg
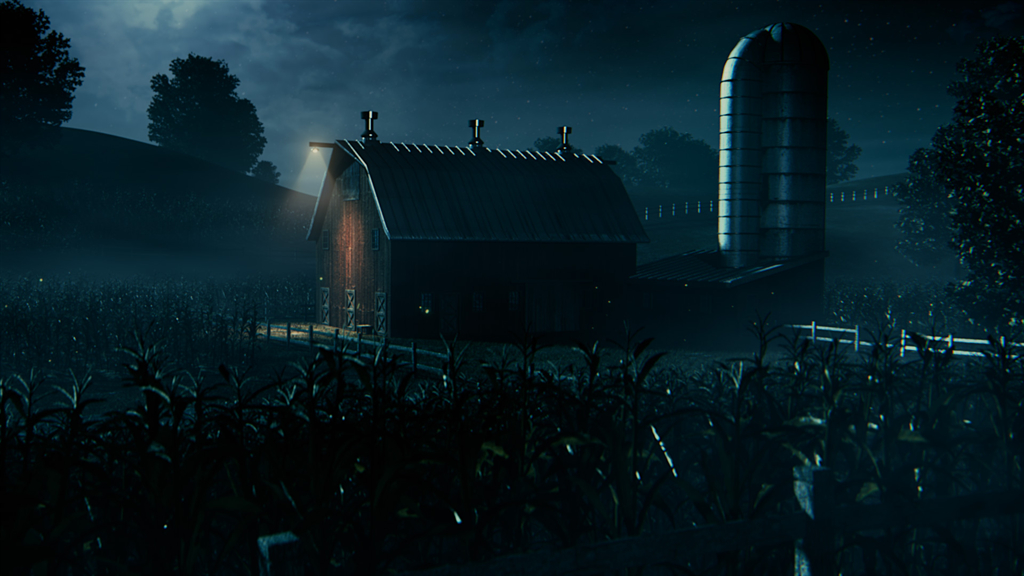
Jack-O-Latern (25pts)

Project Due: Week 11
Using the supplied scene file, apply materials and textures to all of the objects in the scene. Once you have finished with the materials, create and position the lights to establish a specific mood. Lets have some fun with this scene so try to make it spooky and fun! Be creative with the light set-up but remember the rules of composition and color theory we talked about in the lecture. Render your scene with a frame height and width of 1280x720 pixels.
All Finished with your Lab Assignment?
After you have saved the project file on your personal external storage device (like a thumb drive), please upload your Luxology Scene File (.lxo) and your rendered image (.JPEG) to the Jack-O-Latern dropbox on D2L.
Before you upload your files to D2L, please ensure your files meet the following naming conventions:
Submit Your Assignment- lastname_gcom_402_lab_jack_o_latern.lxo
- lastname_gcom_402_lab_jack_o_latern.jpeg
Important Documents

Check out these awesome learning resources! I've collected a number of assets that I think will help you conquer this week's homework and laboratory assignment. Please download the following materials to your local hard disk or flash storage device (AKA thumb drive).
Links

Here are some important links for this week's learning materials. Make sure you add these important assets into your personal library by bookmarking them!