Sub-Division Surfaces
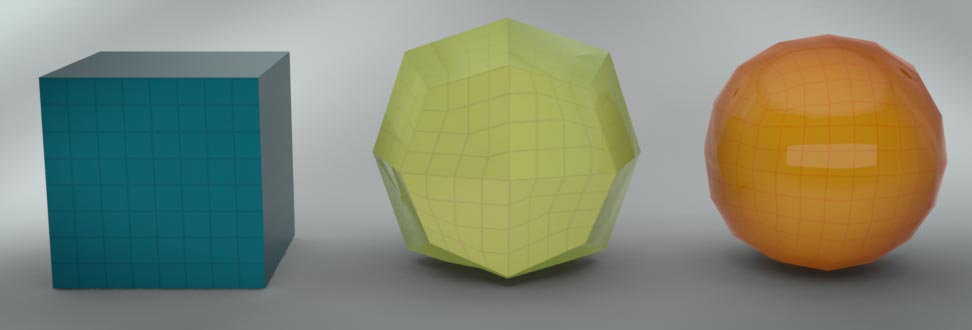
 New modeling techniques and practices are constantly being developed as 3D modeling technology and computer hardware become more sophisticated. Each year the major software developers, like Luxology, release new advances in their software packages that push the possibilities of what can be accomplished in our 3D scenes. One such advancement is called Sub-Division Surfaces. The quality of the surface in traditional polygonal models is limited by the number of polygons used to create it. The advanced computer algorithms used to generate Sub-Division surfaces smoothes the surface of our mesh. This process, ultimately, allows us to create the illusion of high-resolution meshes with smooth topology with fewer polygons. Sub-D surfaces are often used when modeling organic objects, like characters or animals, but are becoming more prevalent in hard-surface objects as well.
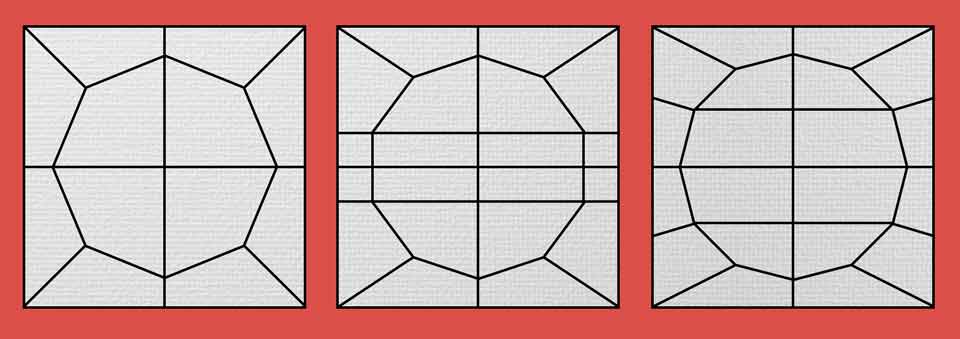
Working with Sub-Division Surfaces is a little tricky. Since we are activating a smoothing algorithm, our approach to generating the topology of our mesh needs to change. Sub-Division Surfaces are going to take the surface of our geometry and add the illusion of "tension" across the geometry. Imagine an internal force is pulling all of your polygons towards the center of your model. This "tension" effect is going to require us to place new edge loops at specific places on our mesh. This additional geometry is going to change how the smoothing algorithm is going to effect the surface tension of our model. Sharp corners and edges are easy to construct but we have to follow some new rules. Check out the videos in the resource section of this page for a detailed illustration of this concept.
This week, we are going to dive into the process of generating Sub-Division Surfaces in Modo. In order for us to take advantage of Sub-Division surfaces, we need to re-program our modeling brain a little bit and approach the initial modeling stage from a different direction. We're going to use the same tools we have been using to create our models but add some new elements into the process that will help generate a higher-quality result. Lets start to examine how we can use Sub-Division surfaces in our 3D modeling pipeline and gain a better understanding of how they are constructed.

Stoplight (50pts)

Project Due: Week 06
 3D modeling is more than creating simple shapes or applying textures; its about creating a scene that communicates a message to the audience. This week, you will create a photorealistic stop light. Follow the instruction in Chapter 10 in the Unofficial Luxology Modo Guide for specific instructions on how to complete this model.
 In addition to modeling and texturing the stoplight, you will also create a simple scene that your stoplight will live in. Only create models that you will use in the final render, so don't waste time and effort in modeling something we will never see in the render. Does your stoplight live in the city? In the countryside? Is is alone or with other? Have fun and be creative! Please ensure your project includes the following required elements before you complete this assignment:
- Geometry for Stop Lights (x3)
- Geometry for a simple scene
- Materials for the Stoplight and Scene elements
- Directional Light x1 with a spread angle
- Global Illumination = ON
- Final Render Frame Size = 1280 x 720 pixels
- Final Render File Type = JPEG
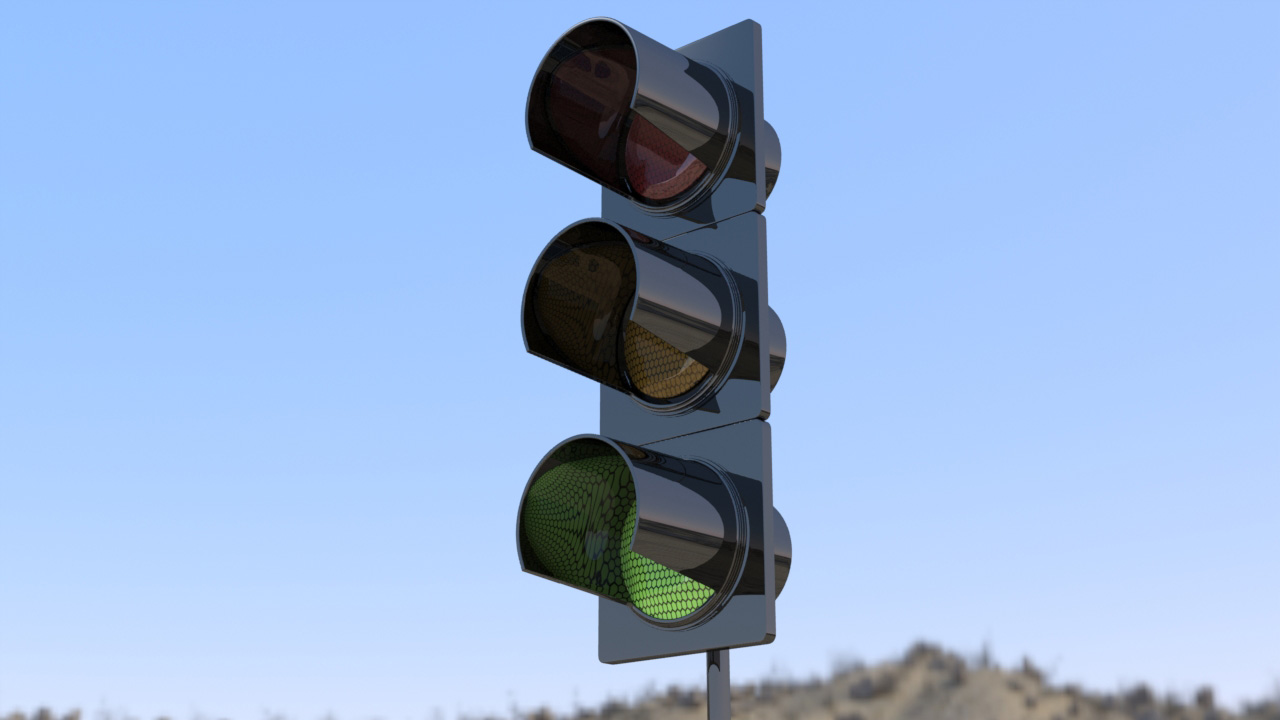
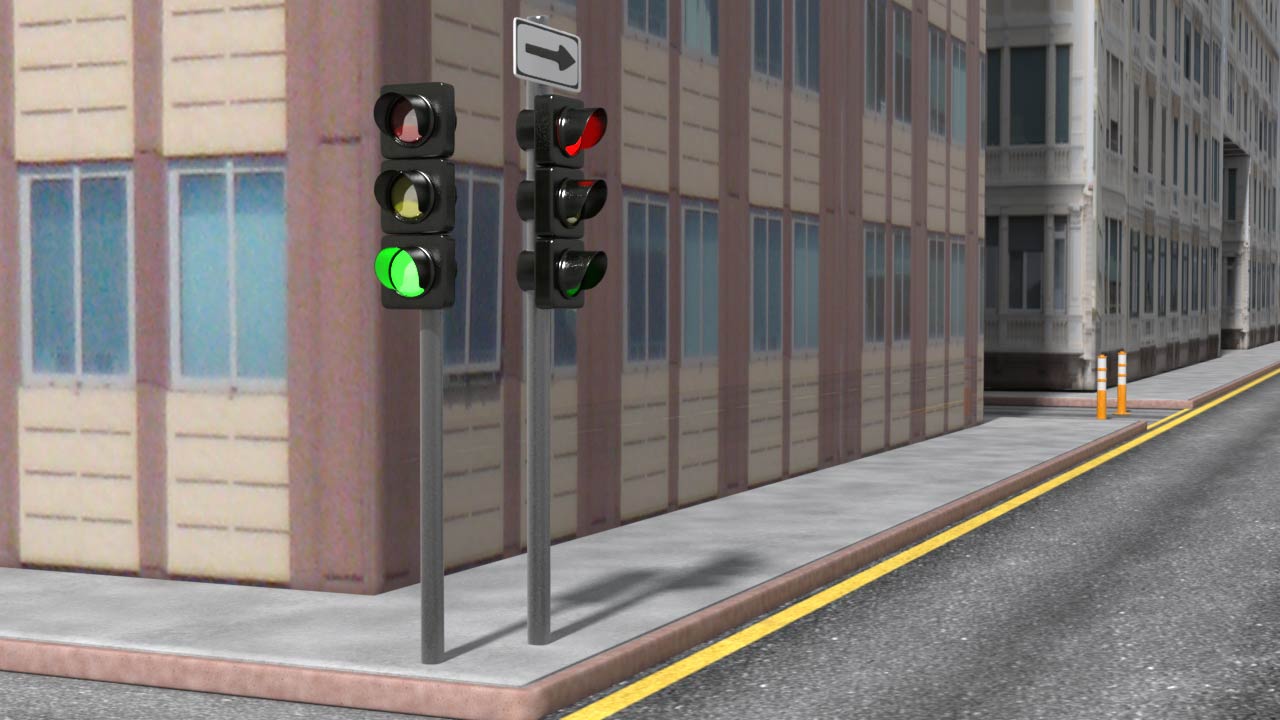
Examples of Successful Projects

Check out these awesome projects! The images below are examples of successful student projects. Use the following images to help guide you to your end results. The surface detail and quality is fantastic in these project! Pay close attention to how the sub-division surfaces is affecting the topology of our mesh!

 Timelapse Video of the Project
 I've put together another Time-lapse video for this project. Don't forget the process of shoring-up the hard edges and creating sharp corners. You'll need one edge above the original and one below. It takes a little time an practice but I know you'll get better at creating sub-division surfaces! Working with Sub-Division Surfaces can be tricky so use this video as reference on the process of creating this complex series of shapes.
All Finished with your Homework?

After you have saved the project file on your personal external storage device (like a thumb drive), please upload your Luxology Scene File (.lxo) and your rendered image (.JPEG) to the Stoplight dropbox on D2L.
Before you upload your files to D2L, please ensure your files meet the following naming conventions:
Submit Your Assignment- lastname_gcom_402_stoplight.lxo
- lastname_gcom_402_stoplight.jpeg
Lego Brick (25pts)

Project Due: Week 06
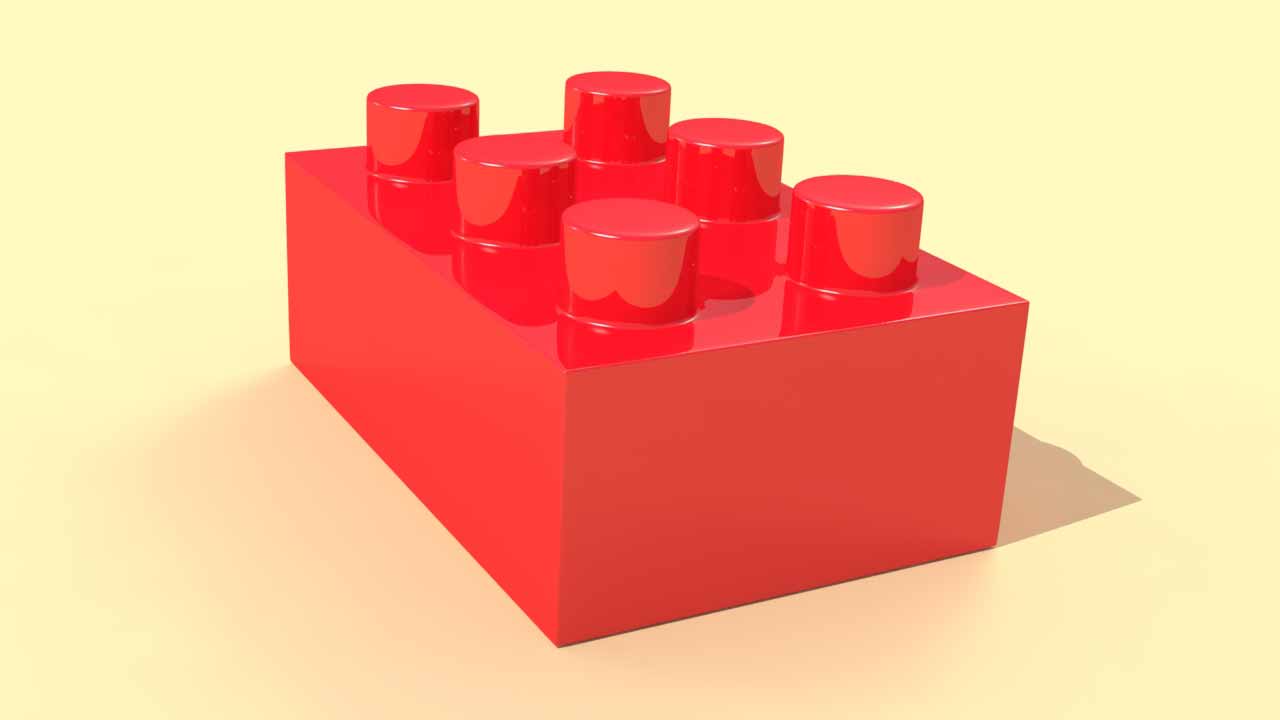
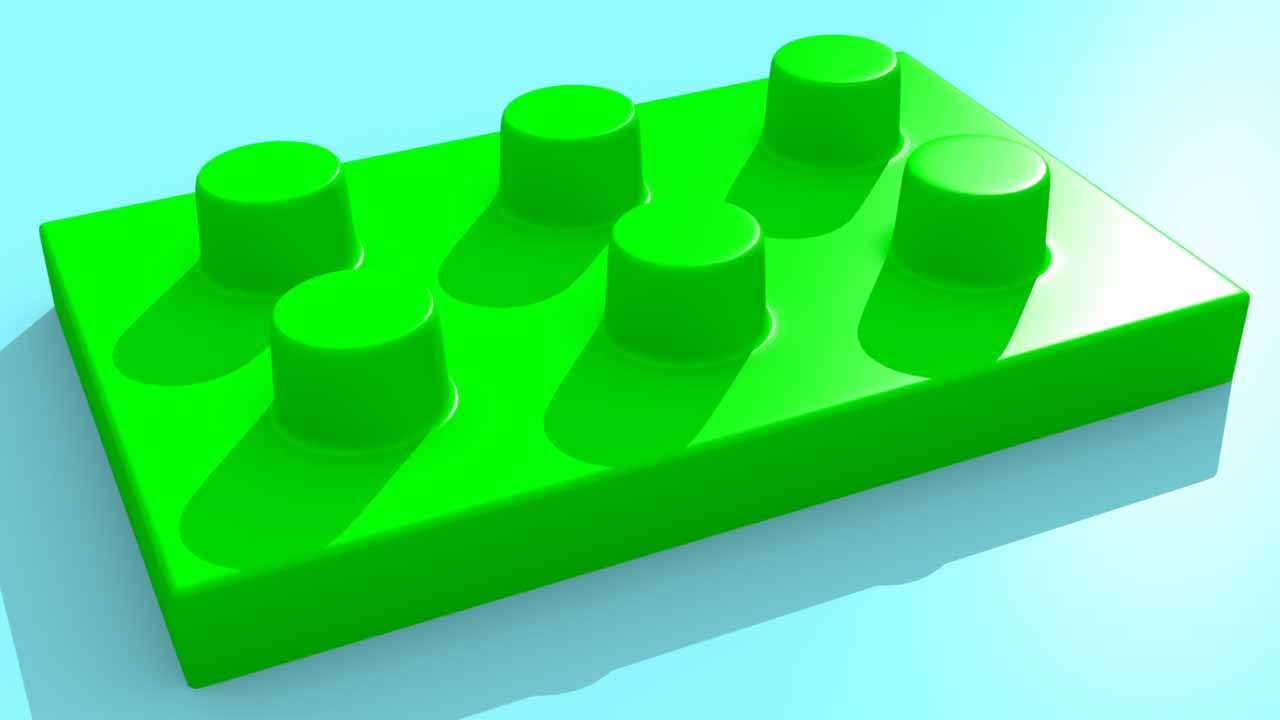
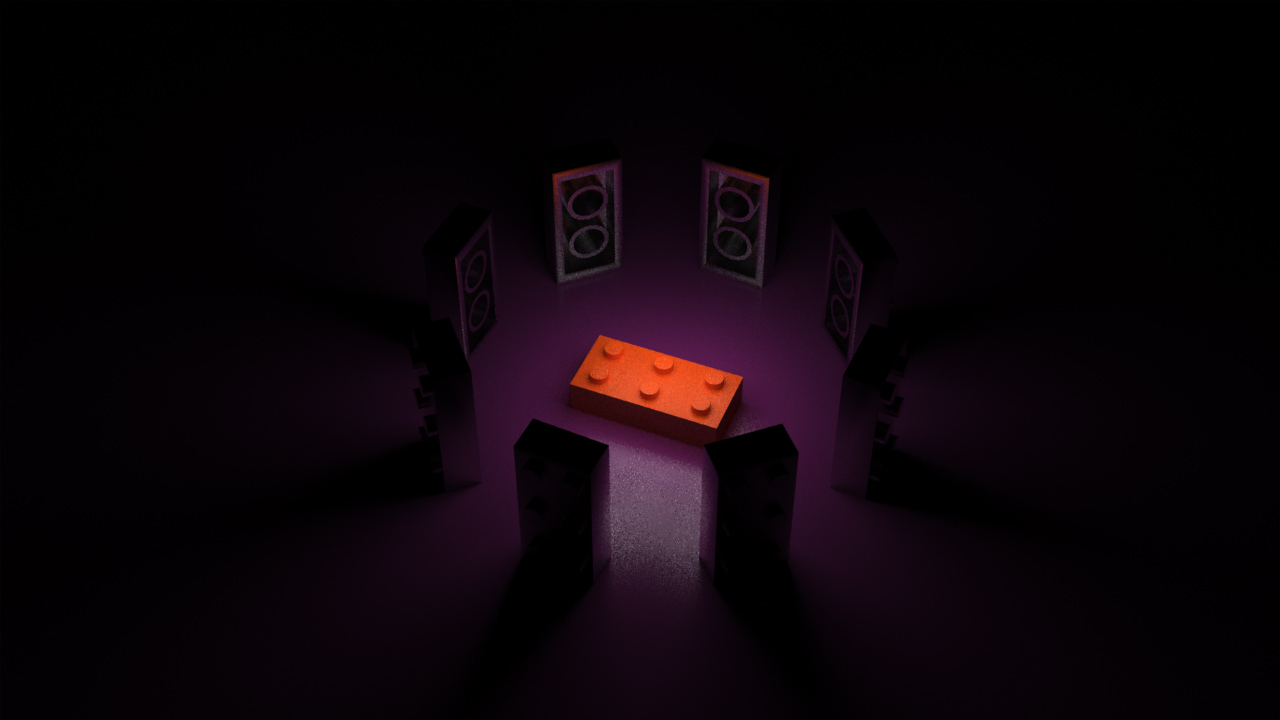
Creating sub-division surfaces for the first time is often times difficult. During the lab, we will explore the basic construction methods for creating shapes using sub-division surfaces. Please read and complete Chapter 5 in the Unofficial Luxology Modo Guide to help you understand how to create sub-division surfaces. Once you have constructed the model, apply a simple material to the model. Since the Lego brick is going to be alone in the scene, we will need to add a ground shadow during the render. Add a "Shadow Catcher" from the mesh preset library to quickly add a ground shadow in your scene. Once you have finished, render your scene at 1280x720 pixels and upload to the Lego Brick dropbox on D2L. Please ensure your project includes the following required elements before you complete this assignment:
- Mesh Item: Lego Brick with at least 6 nubs
- Materials and Textures for all elements
- Shadow Catcher = Yes
- Studio Environment Preset = Yes
- Global Illumination = On
- Final Render Frame Size = 1280 x 720 pixels
- Final Render File Type = JPEG
Examples of Successful Projects
All Finished with your Lab Assignment?
After you have saved the project file on your personal external storage device (like a thumb drive), please upload your Luxology Scene File (.lxo) and your rendered image (.JPEG) to the Lego Brick dropbox on D2L.
Before you upload your files to D2L, please ensure your files meet the following naming conventions:
Submit Your Assignment- lastname_gcom_402_lab_lego_brick.lxo
- lastname_gcom_402_llab_lego_brick.jpeg
Videos

Here are some important videos for this week's learning materials. I've created these videos to help you navigate the instructional content we covered in class. Make sure you add these important assets into your personal learning library by bookmarking them!