Creating Hard Surfaces
Creating realistic 3D models requires the artist to explore the outcome of the project with both sides of the brain. On the right side of the brain, often reserved for more technically focused operations, handles the technical construction of the object. The right side of the brain interprets the shape and figures out the correct combination of vertices, edges and polygons that are required to physically build the mesh.
Over there on the left side of the brain, however, your creative side is being stimulated. Instead of seeing shapes and tools, your left side of the brain is being activated by color and texture. On the left side, your brain is figuring out this object is going to look and how we can communicate the feel, or tone, of this shape in the composition of the final render.
This week we are going to stimulate the left side of the brain and focus on the art of hard-surface texture painting. We are going to spend most of our time exploring how to create convincing textures and materials in Photoshop. Using nothing more than a few photographs and some paint brushes, we'll develop the creative process for painting an awesome, and accurate, diffuse texture map.
Blacksmith Shop Sign (50pts)

Project Due: Week 09
Creating awesome looking texture maps takes some concerted time and effort to master. For this project, your mission is to create a custom painted diffuse texture map for a blacksmith shop sign. I have provided the model, including the UV map, so you can focus on painting the texture in Photoshop. I don't want you using the texture painting system in Modo. Photoshop has the most sophisticated set of painting tools on the market and you really don't want to try to do this in any other application. The entire video game and feature film industry has standardized around Photoshop, so we need to use it as much as we can. Please ensure your project includes the following required elements before you complete this assignment:
- Diffuse texture map painted in Photoshop
- Bump Map
- Ambient Occlusion Map
- Surface ID Map
- Alpha Mask
- Final Render Frame Size = 1280 x 720 pixels
- Final Render File Type = JPEG
All Finished with your Homework?

After you have saved the project file on your personal external storage device (like a thumb drive), please upload your Luxology Scene File (.lxo), a flattened PNG of your diffuse texture (.png) and your rendered image (.JPEG) to the Blacksmith Shop Sign dropbox on D2L.
Before you upload your files to D2L, please ensure your files meet the following naming conventions:
Submit Your Assignment- lastname_gcom_424_blacksmith_sign.lxo
- lastname_gcom_424_blacksmith_sign_tex_dif.png
- lastname_gcom_424_blacksmith_sign_tex.jpeg
Sci-Fi Panel (25pts)

Project Due: Week 09
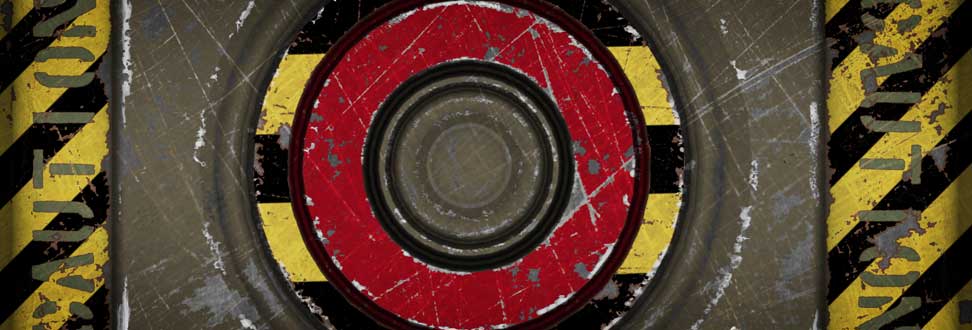
Your lab assignment this week is to create a diffuse texture map for a wall tile. We are always striving to create photo-real diffuse texture maps that encapsulate what the object looks like in it's environment. Don't forget to add scratches, paint chips and rust. These little details add a lot of personality and character. Your model will come alive when little details, like scratches, are added. Please ensure your project includes the following required elements before you complete this assignment:
- Custom Diffuse Color Map that needs to include paint chips, scratches and rust
- Ambient Occlusion Map
- Surface ID Map
- Diffuse Texture Map at 1024 x 1024 pixels
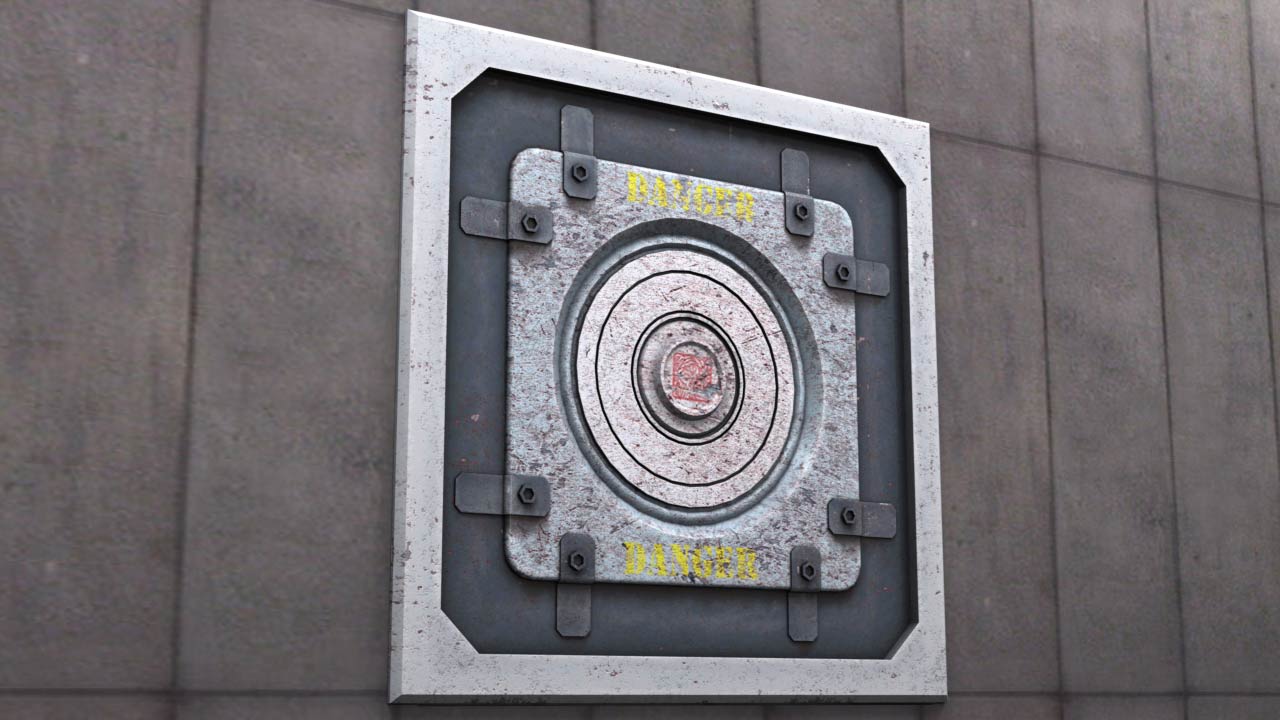
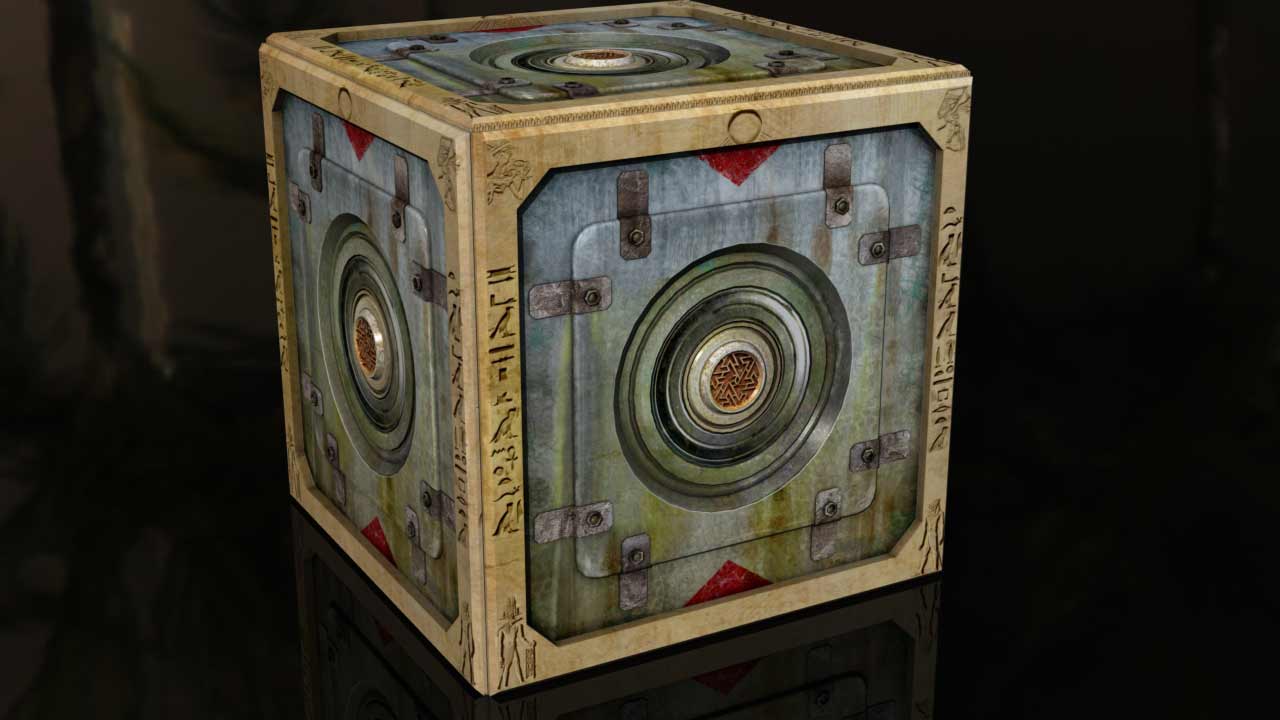
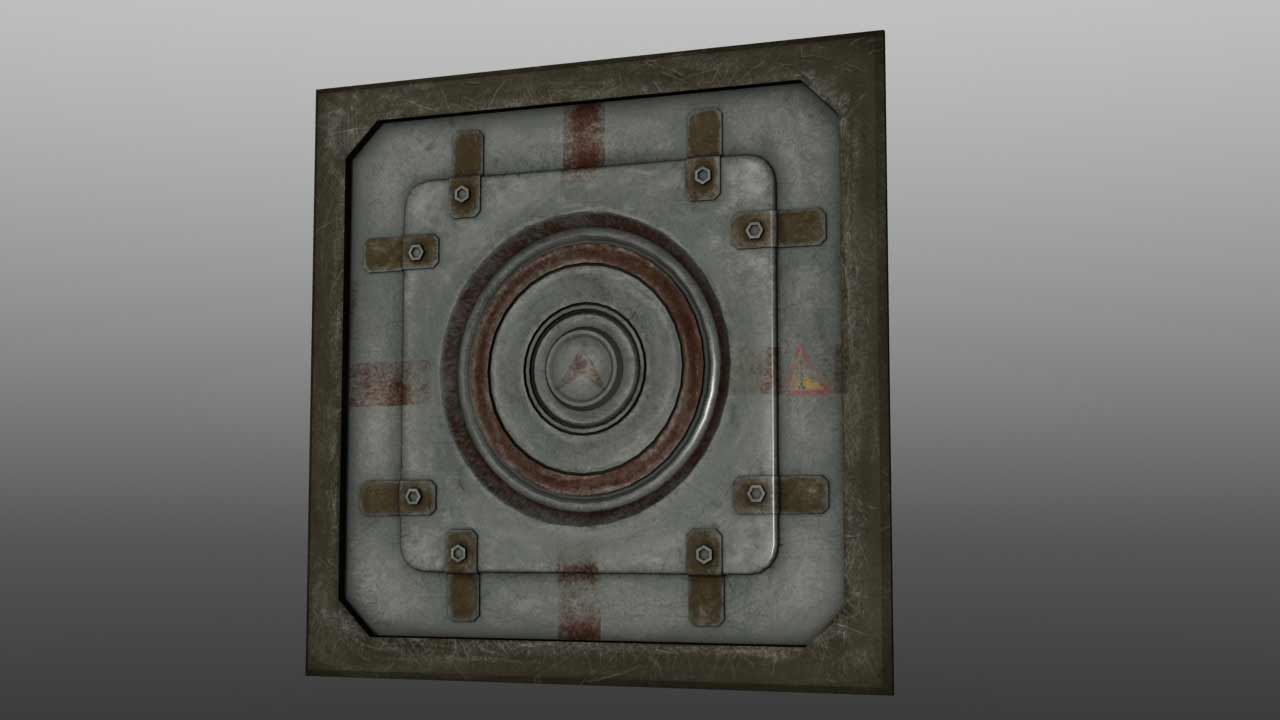
Examples of Successful Projects
Check out these awesome projects! The images below are example of successful student projects. Use the following images to help guide you to your end results. Notice that all of these images include a high degree of detail on the surface of the geometry, accurate materials/textures, and stellar lighting set-ups. In addition, each of these images properly showcase the model, the focal point of the render, by utilizing a good sense of composition and framing. Great work!
All Finished with your Homework?
After you have saved the project file on your personal external storage device (like a thumb drive), please upload your Luxology Scene File (.lxo), a flattened PNG of your diffuse texture (.png) and your rendered image (.JPEG) to the Sci-Fi Panel dropbox on D2L.
Before you upload your files to D2L, please ensure your files meet the following naming conventions:
Submit Your Assignment- lastname_gcom_424_sci_fi_panel.lxo
- lastname_gcom_424_sci_fi_panel_tex_dif.png
- lastname_gcom_424_sci_fi_panel.jpeg
Important Documents

Check out these awesome learning resources! I've collected a number of assets that I think will help you conquer this week's homework and laboratory assignment. Please download the following materials to your local hard disk or flash storage device (AKA thumb drive).
Videos

Here are some important videos for this week's learning materials. I've created these videos to help you navigate the instructional content we covered in class. Make sure you add these important assets into your personal learning library by bookmarking them!