Applying Tiling Textures
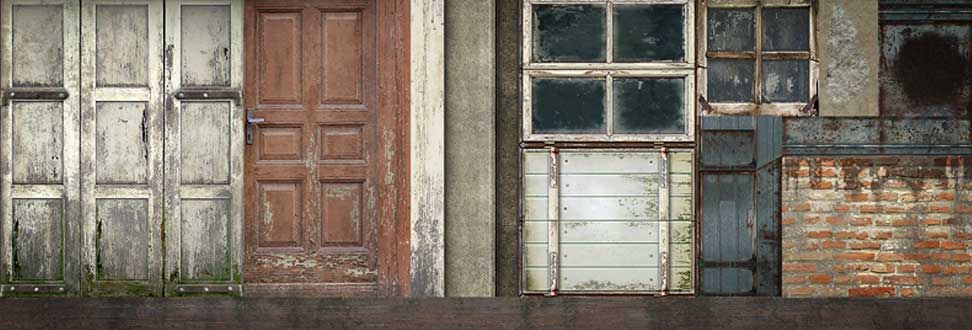
Up until now, we have been working entirely with Modo and Photoshop to create our textures files. With a series of baked images, we have used the layering system in Photoshop to help craft a compelling network of images that helped us create photorealistic texture maps for our models. Integrating Photoshop into our texture pipeline allows us to control the placement and quality of specific images on our model, but this workflow creates a series of workflow problems when texturing larger objects, like buildings. This week, we are going to explore the process of creating tiling textures and apply them to our models in Modo. In addition to discussing the application of tiling textures, we'll also explore how to create, place and align our UV Islands to support the tiling texture workflow.
Using tiling textures allows us to quickly place high-resolution images on to the surface of our geometry. With this technique, we are not limited to the size of the image map, like 1024x1024. The relationship between the texture locator and the material drives the placement of the image map on the model, not the placement of the UV islands within the UV Map.
Admittedly, working with tiling textures can be a little bit more difficult than our Photoshop centric technique that we can been focusing on this semester. For larger objects, however, tiling textures gives us both control and quality; something that would been very difficult to achieve otherwise.
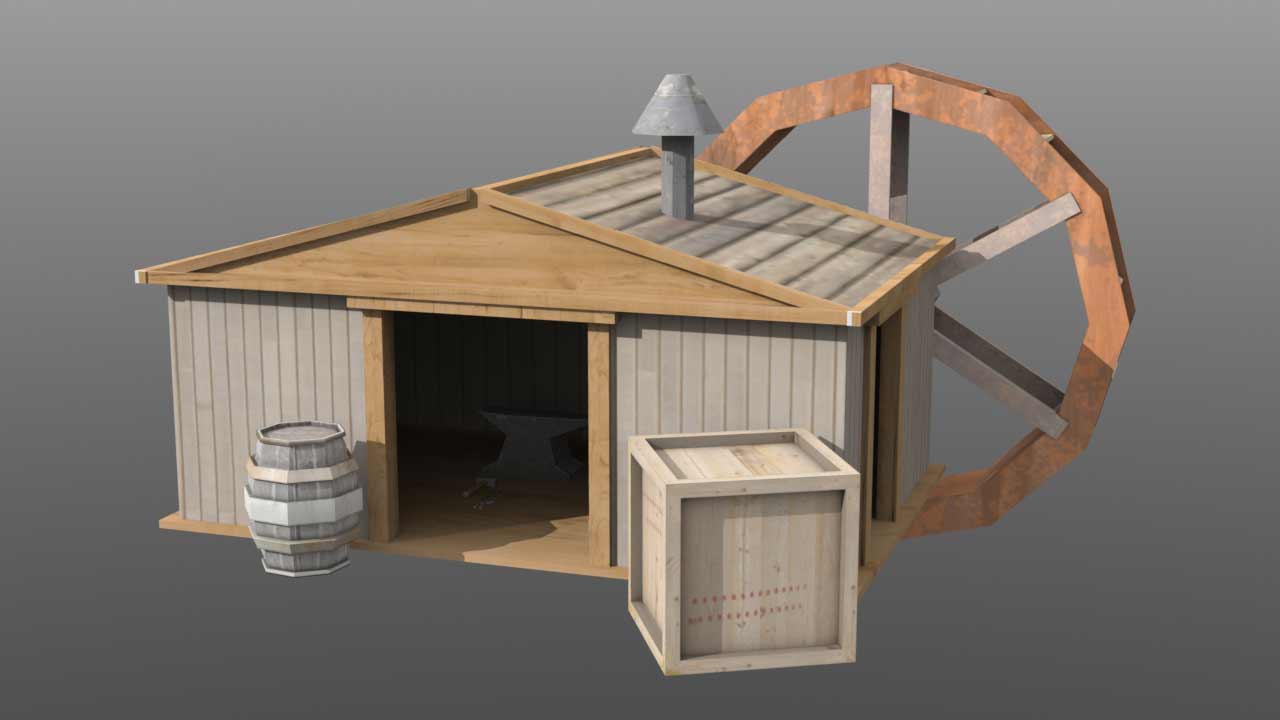
Blacksmith Shop - Texture (50pts)

Project Due: Week 12
In part 1 of this project, we developed the overall shape of the model. Now, we are going to focus on creating the diffuse and bump texture maps for this model. You'll need UV maps for all of the items in your scene, so use clear naming conventions to help you stay organized. When you are finished, you will have a fully textured blacksmith shop that you can import into Unity3D. Please ensure your project includes the following required elements before you complete this assignment:
- Geometry for Blacksmith Shop
- Geometry for Water Wheel
- Geometry for Props (like an anvil, tools, crates, ETC.)
- Diffuse texture maps for all mesh items
- Bump texture maps for all mesh items
- Final Render Frame Size = 1280 x 720 pixels
- Final Render File Type = JPEG
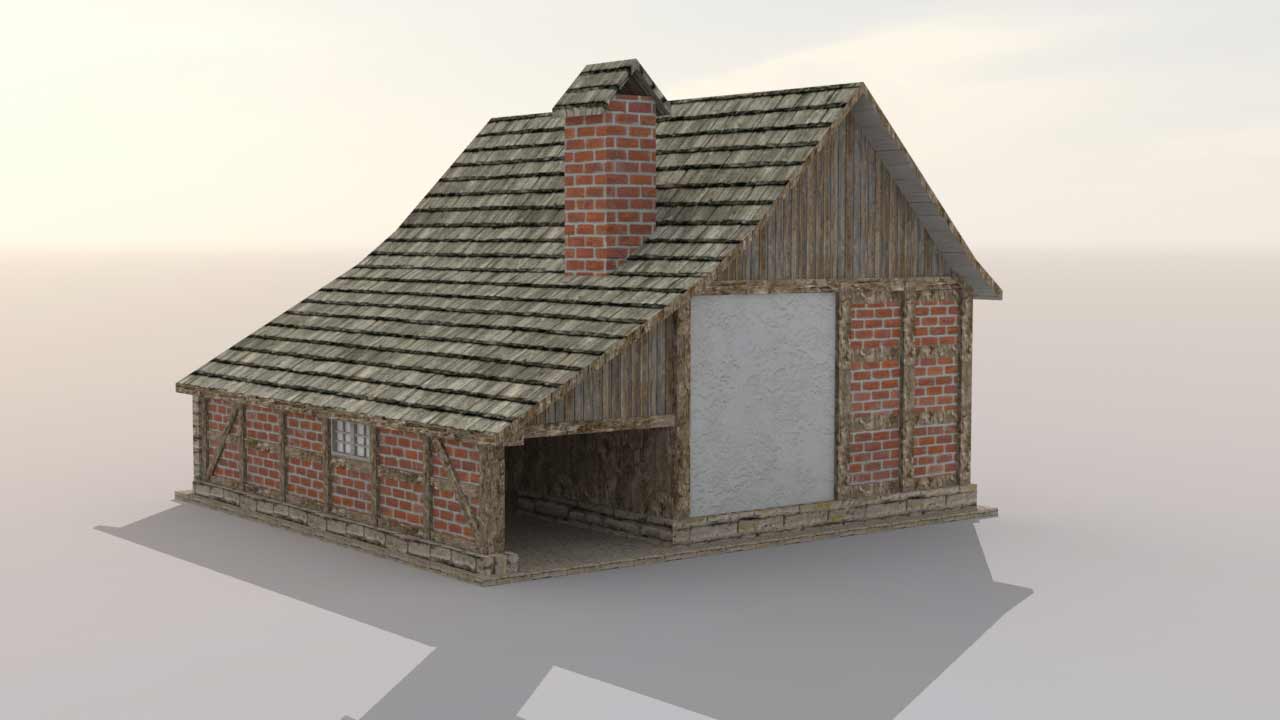
Examples of Successful Projects
Check out these awesome projects! The images below are example of successful student projects. Use the following images to help guide you to your end results. Notice that all of these images include a high degree of detail on the surface of the geometry, accurate materials/textures, and stellar lighting set-ups. In addition, each of these images properly showcase the model, the focal point of the render, by utilizing a good sense of composition and framing. Great work!

All Finished with your Homework?

After you have saved the project file on your personal external storage device (like a thumb drive), please upload your Luxology Scene File (.lxo) and your rendered image (.JPEG) to the Blacksmith Shop Texture dropbox on D2L.
Before you upload your files to D2L, please ensure your files meet the following naming conventions:
Submit Your Assignment- lastname_gcom_424_blacksmith_shop_tex.lxo
- lastname_gcom_424_blacksmith_shop_tex.jpeg